3D Printing with PEEK, PEKK, & ULTEM™
Join AON3D's 3D printing application and materials experts for a 30-minute session that covers all the key information
Getting started with the AON M2+ is easy. With AON3D hardware, customers enjoy access to on-demand polymer focused PhD.s, applications engineers, and hardware support. In addition, the AON3D Additive Academy eLearning platform enables businesses to quickly install their hardware, learn how to use the provided slicing software, and achieve high quality parts. Here’s how to get started.
Getting Started
Step 1: Navigate to AON3D Additive Academy
Navigate to the AON3D Additive Academy to begin your setup process. Here you follow a series step-by-step videos and interactive slides to unbox and set up your AON M2+. Next, complete the Simplify3D Software Introduction Module to learn how to use the slicing software. The module will teach you how to modify various process parameters to optimize your parts for desired part properties that meet functional requirements.
Step 2: Design & Export
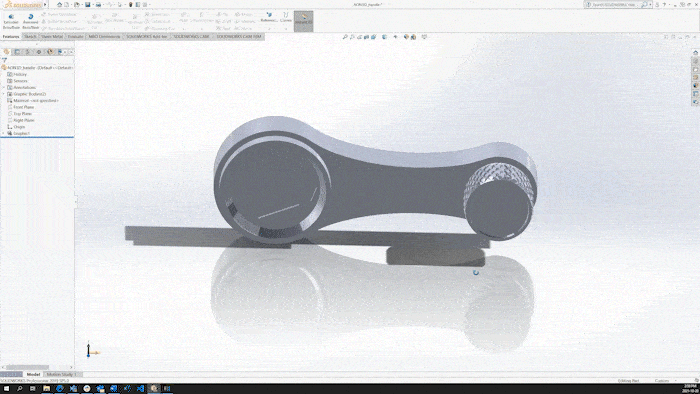
Use any free or paid CAD modeling software to generate your design. When ready, export your model in one of the following file formats: .STL, .OBJ, .3MF.
Step 3: Prepare Print File
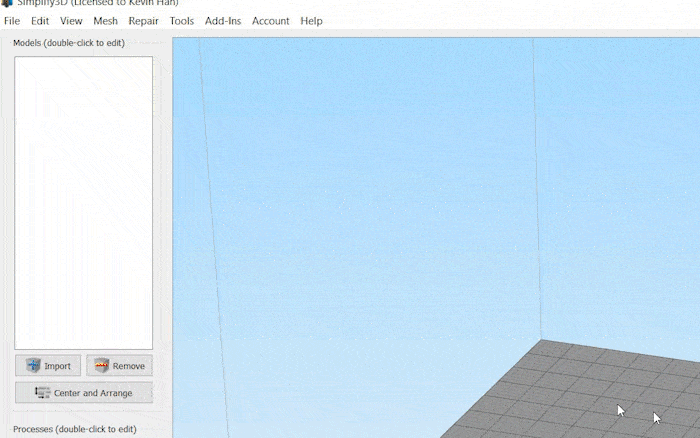
Open the Simplify3D software and import your model. Get started quickly with ready-to-print material profiles provided by AON3D or use the profiles as a jumping off point. Customize part properties such as infill percentage, layer heights, wall thickness, add soluble / breakaway supports, or even increase extrusion multipliers to reduce part porosity. Now press prepare to print to export a G-Code file.
Step 4: Select and Install Build Sheet
Select your build sheet based on your desired printing materials. By using a build sheet material chemically similar to the material you are printing a mechanical bond is created between the build sheet and the print, staying in place while printing and easily releasing once finished. Now place your build sheet on the print bed and activate the vacuum pump using the machine interface.
Step 5: Load Filament
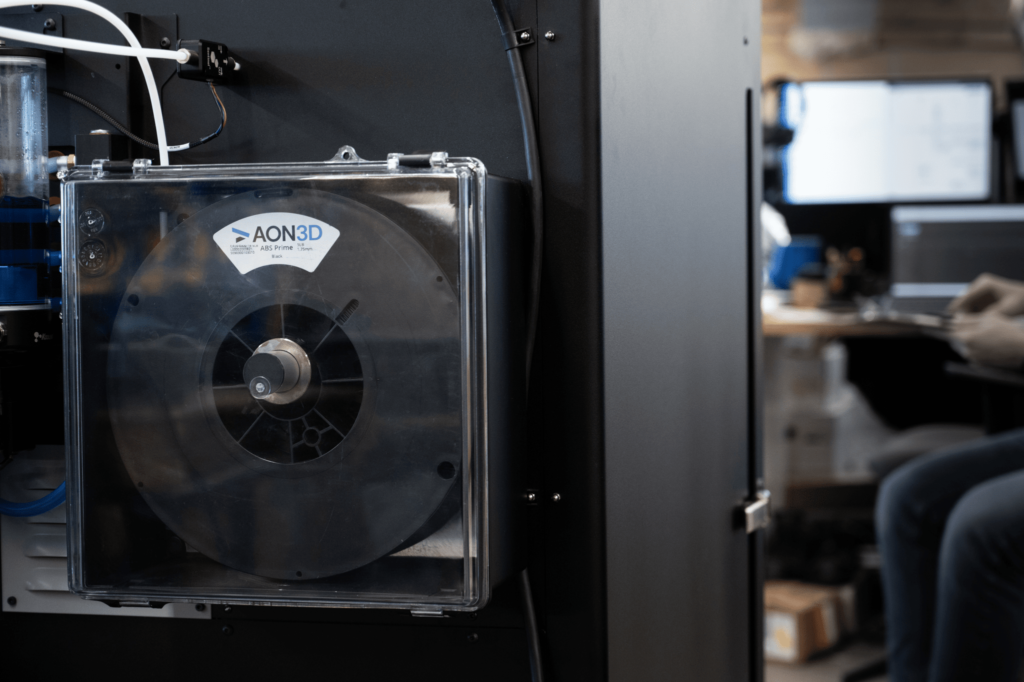
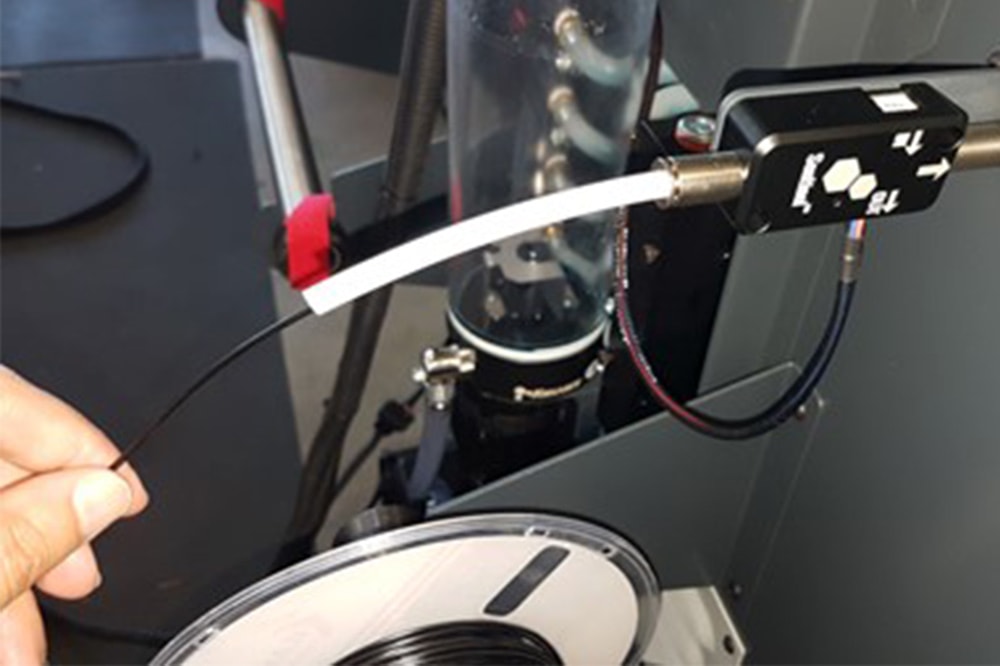
Place your filament spool(s) in the material dry boxes located on the back of the machine. Feed the filament through the filament detector on the back of the machine until the filament reaches the extruder. Preheat the hot end(s) using the machine interface and disengage the extruder gears. Once at temperature, feed the material through the extruder until it reaches the base of the of the nozzle. Now engage the extruder gears and use the interface to extrude / purge approximately 200mm of material per extruder.
Step 6: Print
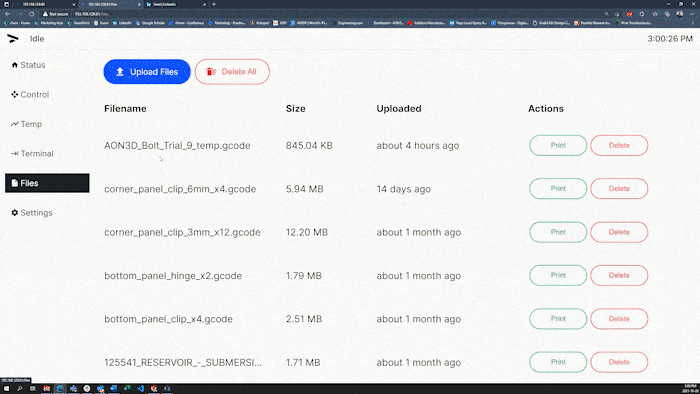
Navigate to your 3D printer’s IP address in a web browser to wirelessly upload your G-Code file to the printer. Preheat the machine according to the provided material process parameters. Once preheated, select your file and press print in the browser interface or manually select and start your print from the machine interface.
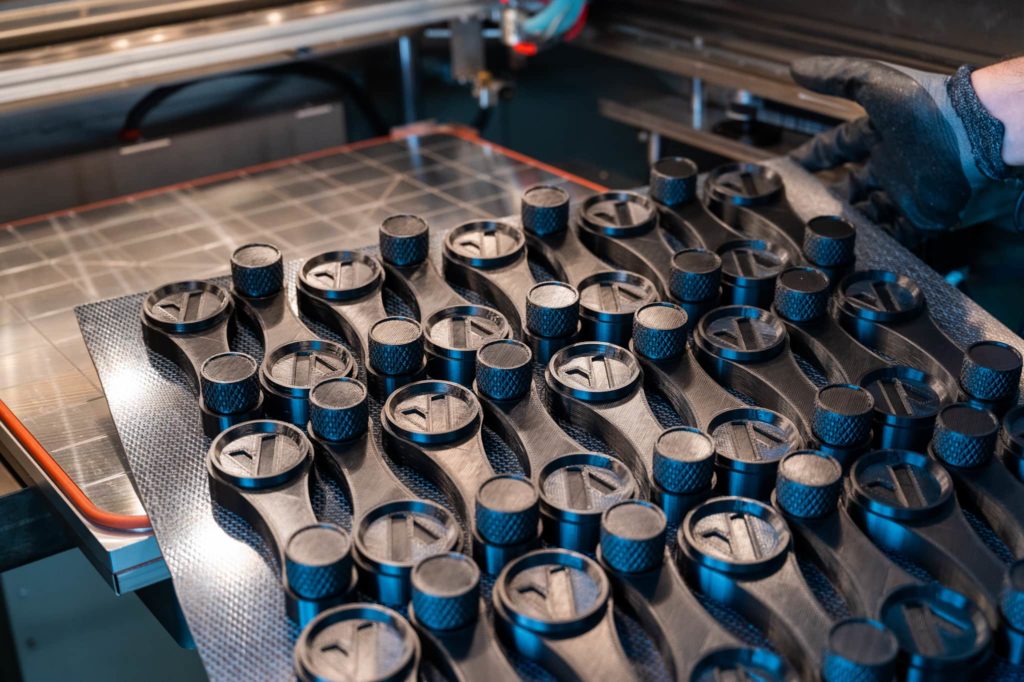
Step 7: Remove Part
Once fully cooled and with the bed vacuum turned off, remove the build sheet and release your prints.